

Cut Crease: Can Women Over 50 Really Pull Off This Look?
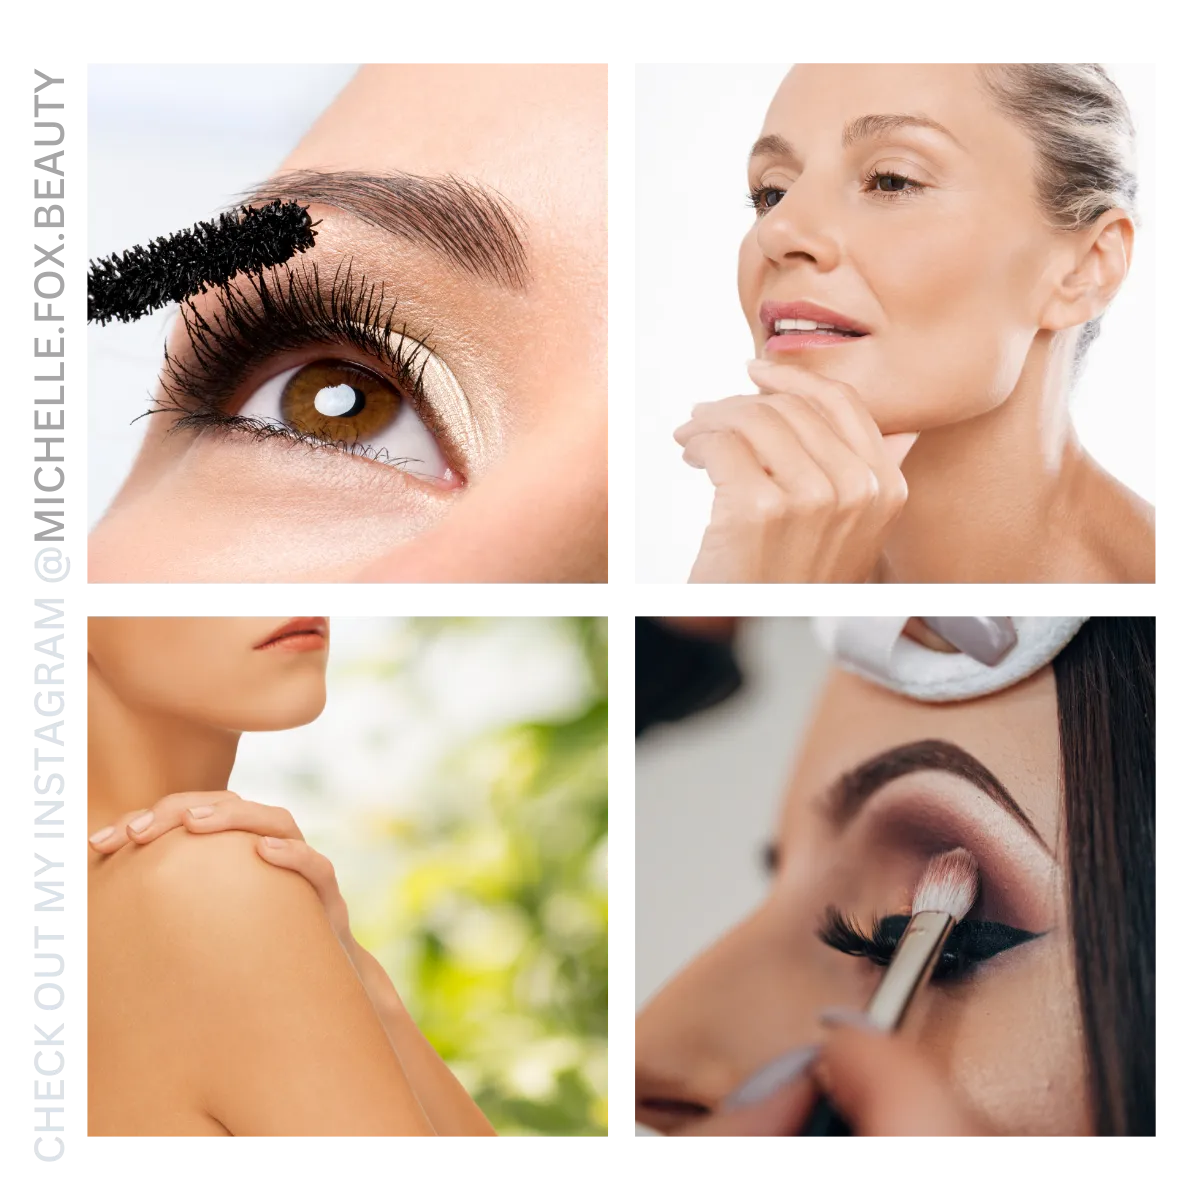
Make Your Mature Eyes Pop with this Amazing Makeup Technique!
Watch Video on Youtube
Cut Crease: Can Women Over 50 Really Pull Off This Look?
In the video above, I demonstrate how I create a cut-crease affect, keeping in mind the peculiarities of my aging eyes. Watch the video for an in-depth explanation of what to tweak and what to watch out for if you are over 50, like me.s
In general, a cut crease is pretty straightforward, so I'll outline that process for you here.
Follow these simple steps to achieve a cut crease that flatters mature eyes
What You’ll Need:
Eyeshadow Primer- Milani Eyeshadow Primer
Liquid or cream eyeshadow concealer - limited edition Mary Kay Liquid eye shadows
Neutral base eyeshadow (light beige or soft taupe) - Mary Kay eye shadow in Biscotti
Neutral midtone eyeshadow (slightly darker) - Mary Kay eye shadow in Hazelnut
Dark matte eyeshadow (brown, plum, or gray are ideal) - Mary Kay eye shadow in Merlot
Shimmer eyeshadow on lid - Mary Kay eye shadow in Crystalline
Variety of makeup brushes - Morphe, Sephora, Mary Kay, and Robert Jones

In general, eyeshadow comes in many finishes including matte, satin, shimmer, glitter, and frost. A cut crease is most often achieved using matte shades with a pop of shimmer in the middle of the lid.
Step - by Step Guide:
Step 1: Prep Your Eyelids
Apply an eyeshadow primer to smooth the lid and prevent creasing.
Set it with a light, neutral eyeshadow for an even base.
You may want to use a liquid or cream eyeshadow or concealer underneath your brow for added definition along the browline.
Step 2: Begin the Transition
Use a long tapered blending brush to apply a matte neutral midtone shade slightly darker than your base in the general area of your creasess
This step does not need to be precise.
Step 3: Define the Crease
Use a small brush to apply a dark matte eyeshadow slightly above your natural crease.
If your eyelids are sagging, place the crease higher to create a lifted effect.
Keep your eyes open while applying to see the shape clearly.
Step 4: Blend It Out
Use a fluffy brush to soften the edges of the dark crease color.
Avoid blending too much; you want to keep the crease well-defined.
Step 5: Brighten the Lid
Apply a light shimmer or matte shadow all over the lid below the cut crease.
This contrast makes the crease pop and opens up the eyes.
You may want to add a light shimmery shadow just in the center of your lids for extra glow.
Step 6: Add Eyeliner and Mascara
Tightline your eyes to define your lash line.
Finish with mascara for extra lift.
Lifts sagging, droopy eyelids
Creates balance for uneven eyes
Adds definition behind glasses
Gives a youthful, refreshed looks

Products Used:
Milani Eyeshadow Primer
Mary Kay Chromafusion Eyeshadow (Biscotti, Hazelnut, Merlot, Moonstone, Crystalline, Onyx)
Julep Eyeshadow 101
Fanorama Mascara (discontinued)
Ruby Slipper Dashing Diva Magic Press Press-on Nails
Let's compare!
In my "before" photo, my right eyelid is somewhat hidden by the flap of skin above it, whereas much more of my left eyelid is visible. In the "after" picture, the eyes appear much more balanced, not to mention defined and alert. Do you see the difference?


Facebook
Instagram
LinkedIn
Youtube
TikTok
Pinterest