
Easy Holiday Makeup Look for Women Over 50
Easy Holiday Makeup Look for Women Over 50
Are you looking for an easy but elegant holiday makeup look? Watch as I create a very simple makeup look for the holidays featuring one to three eye shadow shades (your choice!), blush, and lip gloss. This glamorous look adds just enough sparkle to feel festive yet remains soft and natural, perfect for someone who rarely wears makeup or is new to makeup application. Your search for an easy holiday look is over!
With every blog I like to provide a free resource for you. You'll love this list of Twelve Tips for Perfect Eye Shadow Application. I can't wait to hear which tip you found most beneficial!

Easy Holiday Makeup Look for Women Over 50
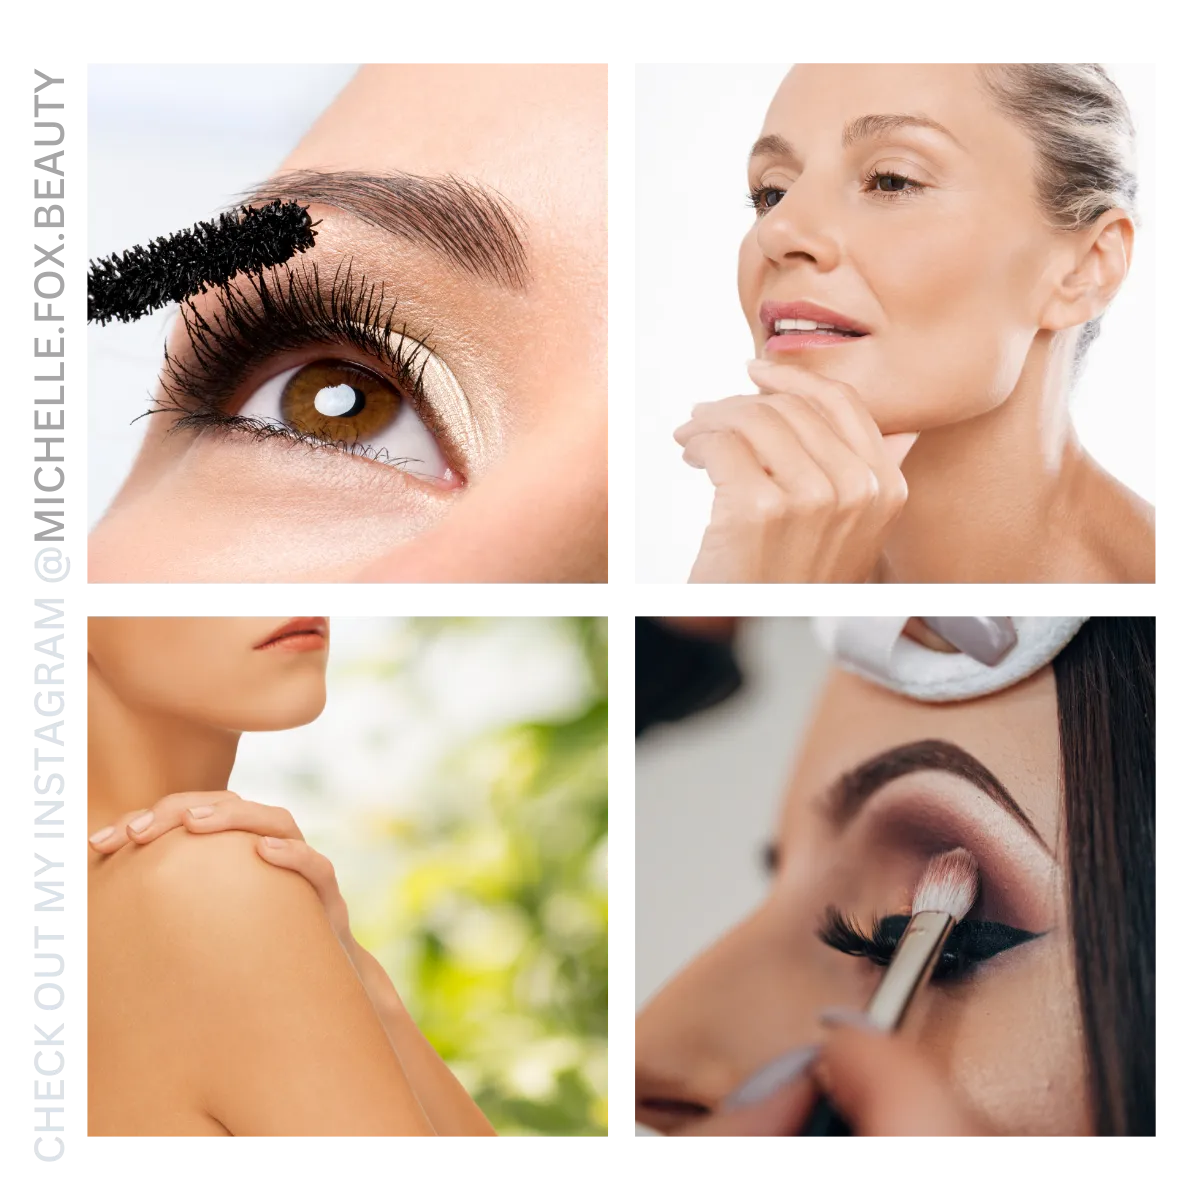
Hi! it's Michelle Fox from Michelle Fox Beauty and today we're doing a really simple glam look for the holidays.
This is especially for my girls who don't wear makeup every day. You will be astonished at how simple it is! We're just focusing on eyes, cheeks, and lips, so don't go anywhere... That's coming up next....
Eyes
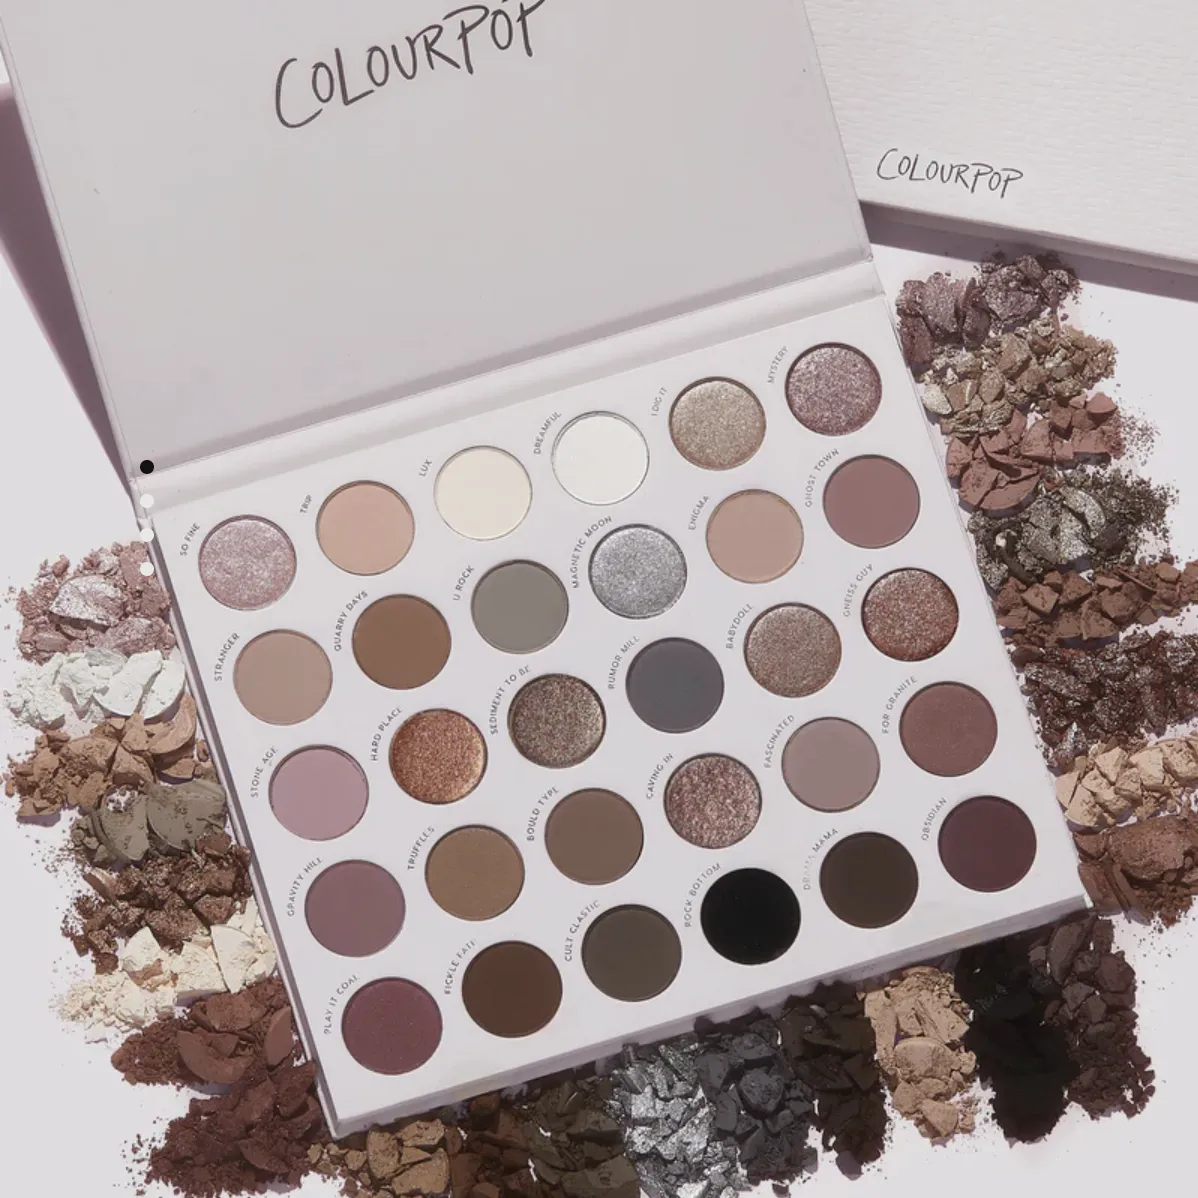
For our eyes I'm using some colors from the Stone Cold Fox collection by ColourPop. I'm also using brushes from the Robert Jones collection that I talked about on my business page on Facebook.
Watch HERE
I'm using the three brushes that I said were the basic three for someone learning how to use makeup brushes (but I might add a couple just at the end for myself)...
The colors featured are Stranger and So Fine for our highlight colors; Stone Age for our mid-tone; and Gravity Hill for our accent. And I think we'll probably line our eyes with Play It Coal.
Shop ColourPop
I'm using the most basic brush that everyone needs. It's usually just called something like an "all over eyeshadow brush". This brush is Robert Jones' number 22 brush. This type of brush is usually flat and has sort of a squarish head. If you are only wearing one color, which is always an option, you would just dip into a middle of the road shade - something that's definitely going to show up - so it's darker than your skin tone. And if you're only wearing one color and it's a holiday, go crazy and get something that matches your outfit! It's fine to do blue or green or something like that.
I'm sticking with very simple colors. Pinkish Browns. I'm going to show you where you would apply eye color if you're only using one color and one brush. Then with two (colors and brushes) and finally with three.
I'm using this original, all-over eye shadow brush. Apply it only on the almond shaped part of your eye. Your mobile eyelid. When I'm using more than one color, I do not put anything this dark on my lid, but if I'm only using one color then I don't want to use something super light. I want to use something that's definitely going to show up. Light colors show up, but they show up in a different way... you'll find out in a sec!

Shades used...
Stranger (matte highlight)
So Fine (shimmer highlight)
Stone Age (matte midtone)
Gravity Hill (sparkle accent)
Play It Coal (matte liner)


This is sort of a "middle of the road" color, thus called mid-tone. We're just covering up this almond shaped part of our eye, and in a moment I'm going to show you how different it looks when your eye is open.
Depending on age and eye shape, our eye looks quite a bit different open than closed. Because of that, we're going to have to make some adjustments to create the almond shape.
My eyes are droopy. They're getting droopier as I age. They've always been downturned. Because of those things, I will have to lift this color and I'll show you what that means.
When I open my eyes, everything sort of drags down, so I like to bring the color up a little bit. If you can imagine, I'm sort of drawing an almond shape by bringing that color out a little bit on the side and up a little bit into the crease.

If that is all you want to do, that's that! That's how easy this look is. You could take a big fluffy brush and smooth out those edges, so you can't see where the color starts and stops. Then put on a little mascara and you're good to go.
Normally if I'm using more than one color, I'm going to put a lightest color on my lid and save this medium color for the crease. So by adding a second color now, we're actually switching gears and using a slightly different approach.
I'm putting the lighter matte color, the highlight shade, really close to my lashes on both lids and also under my brow. Your lightest color draws attention to those features, typically our lids and brow bone.
This is the point where I take that blending brush, the long tapered brush, or mid-tone brush, dip into that middle color and use the windshield wiper motion in the crease. Another word for your mid-tone shade is your transition color and right now that's what it's helping you do. It's helping you transition from light to dark.
Before we move on to the accent color, I'm going to dip into that shimmer shade, which was the first one that I mentioned, and I'm going to layer that on top of the other light color underneath my brows, since this is sort of a party look - a holiday look. Then I'm going to take a pointed Q-tip and dip it into that same shimmery color and I'm going to dot that by my tear duct to open up my eyes and brighten the area.
The accent shade can be applied with a variety of brushes. One of them would be something within a smaller head; more compact. lt's called a contour brush or an accent brush this is Robert Jones number 13. The idea here would be to use a DOT of color in this outer corner and then fan it in, in a v-shape on each side.
So once that is laid down, come back with your blending brush, which you also use for your mid-tone, and just kind of swoosh that around to help blend that out. Then bring it into the crease to blend it with your middle color. The idea of the accent shade is to lift everything and give your look a little more drama.
These colors are very similar, so it should be a very subtle subtle look.
We discussed in the second makeup brush video on my Facebook page how to line our eyes with a liner brush using our powder shadow. I'm going to go ahead and do that now. You'll be surprised at how easy it is to use eye shadow to line your eyes with. You just need a really skinny brush, a liner brush, dip into your darkest color, you may even want to wet your brush to make the line more precise. Then I am pressing this brush really close to my lashes, lifting it and pressing right next to it. Moving it that way rather than trying to go straight across is so much easier.
Cheeks
For cheeks, I tried Super Shock blush by ColourPop. This color is called Between the Sheets. It is a matte berry shade. I had no idea how to apply it at first. I tried a variety of things but I landed on just a traditional cheek brush. As far as blush shade goes, if you don't typically wear blush. I would suggest pinching your cheeks and going with whatever the natural color of your flushed cheeks is. Start at your temple and bring the blush down along your cheekbone, but not too close to your nose or too low on your face. Keep everythin lifted.
Lips
We're going to finish up with some gloss. Because this is a simple look, let's keep the gloss very light and natural. If you are concerned about gloss getting into the creases around your lips or not lasting all day, you want to make sure that you invest in a good quality lip gloss. Another thing that will help is using a lip liner.
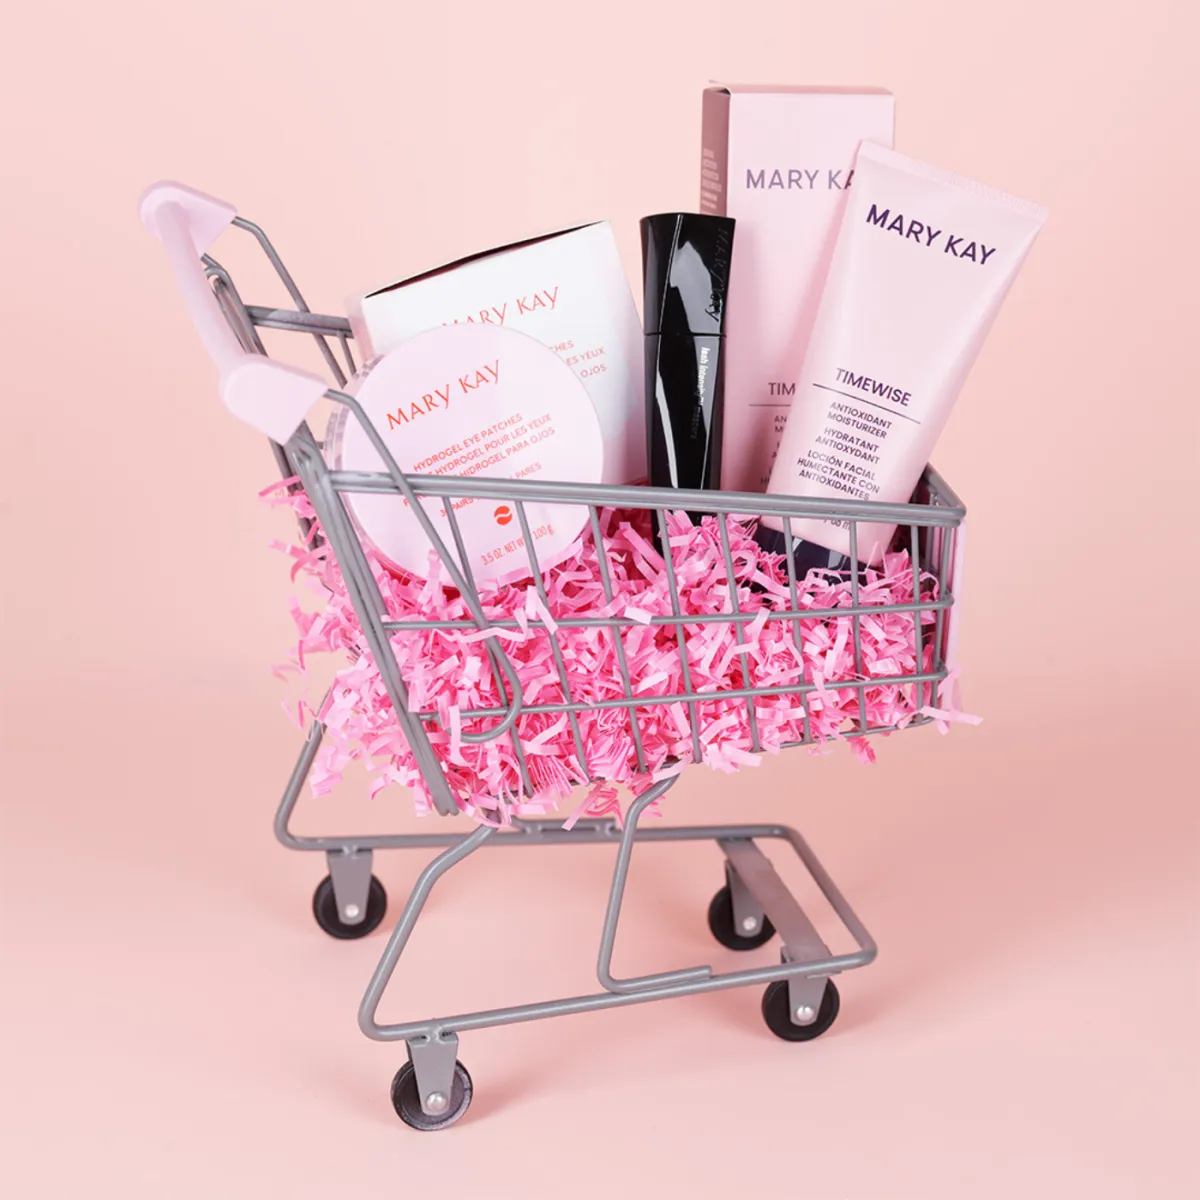
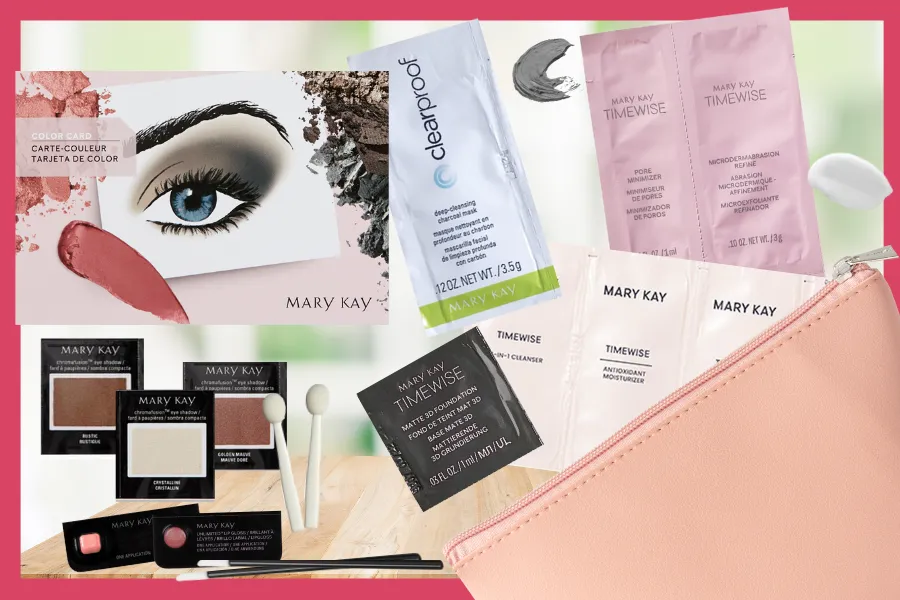
This is a Mary Kay lip liner in Medium Nude. Outline the Cupid's bow, the V at the center of your upper lip, and then do short feathery strokes down each side. Use a similar technique on the lower lip, beginning with a short line in the center and feathering out toward the outer corners
You can also apply the liner all over your lips to help the look last longer. If you want a really matte look you could just leave it like that but I definitely want to do a glossy look. There are also lip primers that you can purchase that help your lipstick stay longer and you can even use an eye primer on your lips.
This is also from Mary Kay. It's my favorite shade and it's called Sheer Illusion. It can be worn alone or layered on top of something else. It's a really pretty pearlescent shade and even though it's a very light, sort of a nude shade, I think because of the pearlescence it can look really glam!
Shop for Sheer Illusion
I've never been a big fan of lip gloss but I have to say of all the glosses I've ever tried the newest line from Mary Kay, the Ultimate Lip Gloss line, is fantastic! It's not sticky or tacky. It lasts a long time and the color is really true and really beautiful. There are Pearl, Shimmer, and cream finishes, so they don't all have this pearlescent look. It depends on what shade you're wearing. I highly recommend these lip glosses!

Wrap Up...
So that is a very easy-to-apply holiday look if you want to keep everything very soft and natural. If you want to take things up a notch, like I said, you could wear your eye color to match your outfit, or wear a deeper shade of gloss, which would give you a little more drama but still keep things simple.
This look is something that most anyone would feel comfortable wearing because it doesn't scream hey I've got holiday makeup on, yet it has a little bit of holiday magic in it.
If you give this easy holiday look a try and something doesn't look quite right, you probably just need a little bit of blending. If you feel pretty, great! If you don't, then take it off and try again... or don't! This is all about enhancing your features and feeling good about yourself while you are celebrating the holiday season. If this look doesn't make you feel fabulous, then don't do it.
Hopefully you learned something new. If you did, let me know in the comments. I will see you next week with another easy holiday look for 2022. See you then!


Facebook
Instagram
LinkedIn
Youtube
TikTok
Pinterest